
Setting Up Your First Node.js Application Step-by-Step
1. Install Node.js
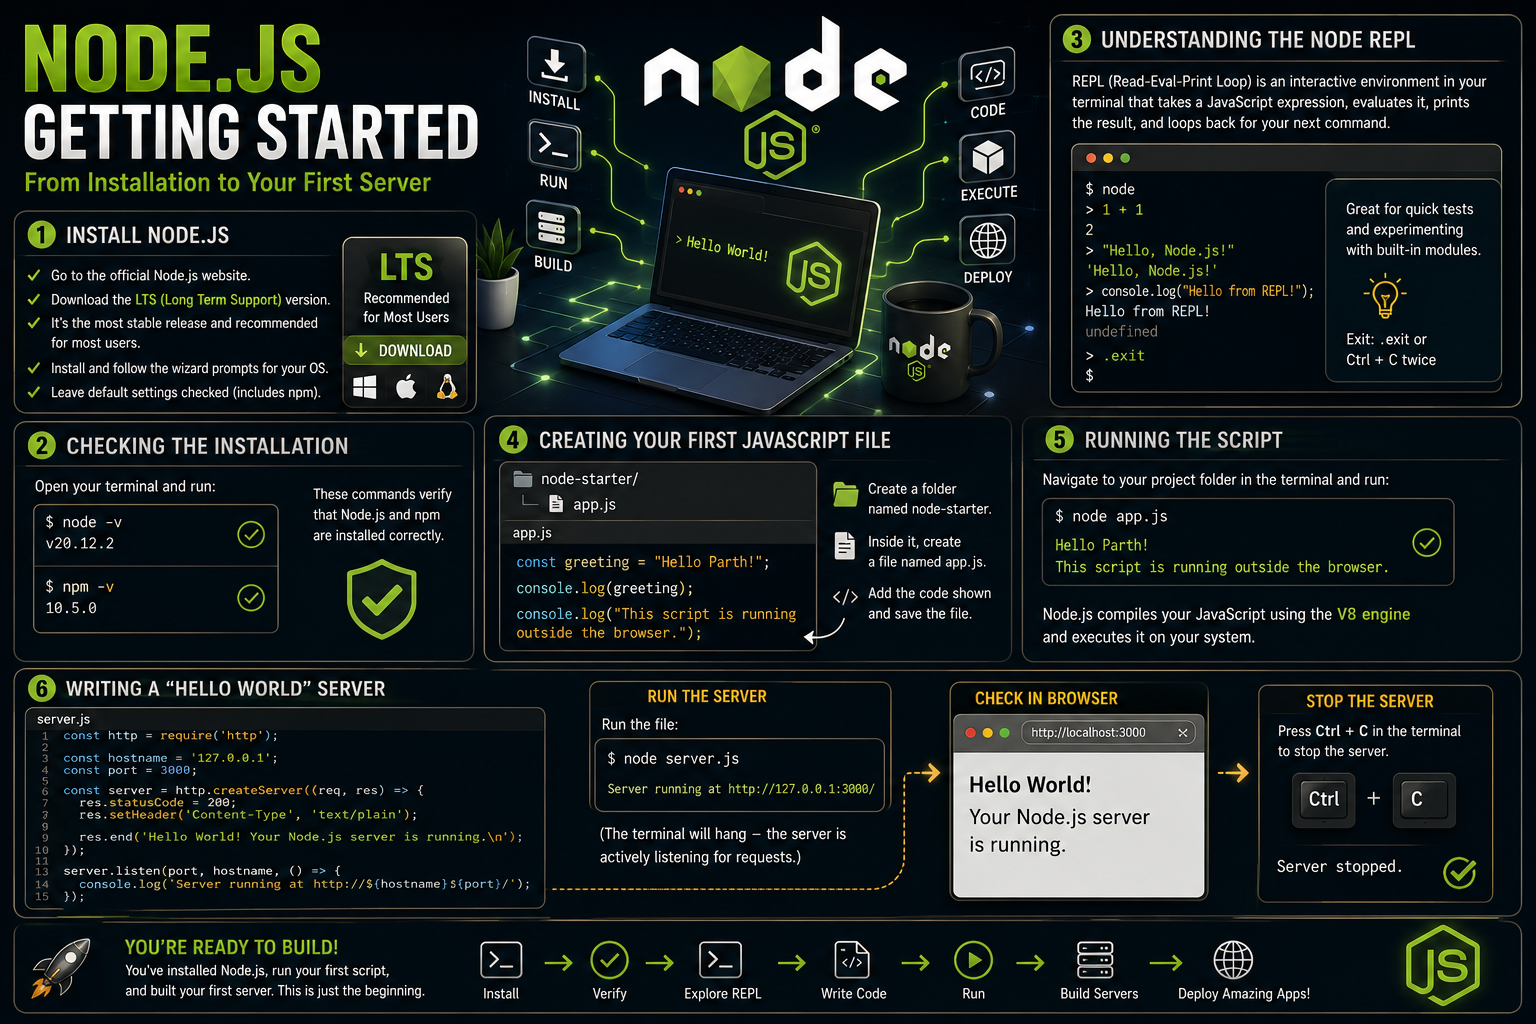
Because Node.js is a runtime environment, you need to install it on your machine before you can execute any server-side JavaScript.
To keep things universally applicable regardless of whether you are using Windows, macOS, or Linux, the most straightforward approach is to use the official installers:
Navigate to the official Node.js website.
You will see two download options. Always opt for the LTS (Long Term Support) version. It is the most stable release and is recommended for most users and production environments.
Download the installer and follow the standard installation wizard prompts for your specific operating system. Leave the default settings checked—they include the Node package manager (npm), which you will need later1. Install Node.js
Because Node.js is a runtime environment, you need to install it on your machine before you can execute any server-side JavaScript.
To keep things universally applicable regardless of whether you are using Windows, macOS, or Linux, the most straightforward approach is to use the official installers:
Navigate to the official Node.js website.
You will see two download options. Always opt for the LTS (Long Term Support) version. It is the most stable release and is recommended for most users and production environments.
Download the installer and follow the standard installation wizard prompts for your specific operating system. Leave the default settings checked—they include the Node package manager (npm), which you will need later
2. Checking the Installation
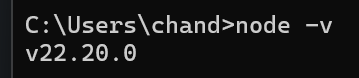
Once the installation finishes, you need to verify that your operating system recognizes Node.js.
Open your system's terminal (Command Prompt or PowerShell on Windows, Terminal on macOS/Linux) and type the following command:
node -v
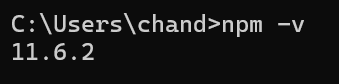
You can also verify that npm was installed alongside Node by running:
npm -v
3. Understanding the Node REPL
Before writing a complete script, it's helpful to understand the REPL.
REPL stands for Read-Eval-Print Loop. It is an interactive, virtual environment directly in your terminal that takes a single JavaScript expression, evaluates it, prints the result, and loops back to wait for your next command. It is incredibly useful for quickly testing small snippets of logic or experimenting with built-in Node modules without needing to create a file.
To enter the REPL, simply type node into your terminal and hit Enter. Your prompt will change to a >.
Try typing a simple expression:
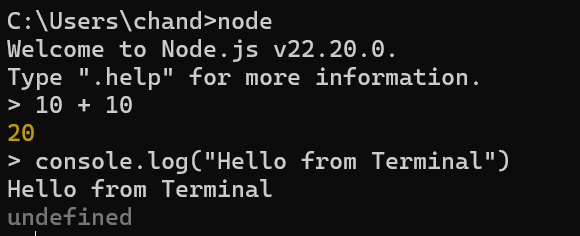
(Note: The undefined appears because console.log() outputs the string but does not return a value).
To exit the REPL, type .exit or press Ctrl + C twice.
4. Creating Your First JavaScript File
While the REPL is great for quick tests, real applications are written in files.
Create a new folder on your machine named
node-starterand open it in your preferred code editor.Inside this folder, create a new file named
app.js.Add the following JavaScript code to the file and save it
const greeting = "Hello World!";
console.log(greeting);
console.log("This script is running outside the browser.");
5. Running the Script
Now it is time to execute the file using the Node runtime.
Open your terminal, navigate to the node-starter folder you just created, and run the file by passing its name to the node command:
node app.js
When you run this command, Node.js takes your file, compiles the JavaScript into machine code using the V8 engine, and executes it directly on your system.
6. Writing a "Hello World" Server
Running a script in the terminal is the first step, but Node.js is famous for building web servers. Let's build a foundational server using only Node's built-in capabilities—no external frameworks required.
Create a new file named server.js and add the following code:
const http = require('http');

const hostname = '127.0.0.1';
const port = 3000;

const server = http.createServer((req, res) => {
  res.statusCode = 200;
  res.setHeader('Content-Type', 'text/plain');

  res.end('Hello World! Your Node.js server is running.\n');
});

server.listen(port, hostname, () => {
  console.log(`Server running at http://\({hostname}:\){port}/`);
});
To run your server:
In your terminal, execute the file:
node server.jsYour terminal will log:
Server running at [http://127.0.0.1:3000/](http://127.0.0.1:3000/). The command prompt will hang because the server is now actively listening for requests.Open your web browser and navigate to
http://localhost:3000. You will see your plain text response displayed on the screen.
To stop the server, go back to your terminal and press Ctrl + C.


